A professional landscape photographer told me once that you have to go back to a site 25 times to get the best shot possible. That’s probably not too far off if you are shooting for National Geographic. But with a little planning and some basic technique (and great conditions), you can get a sunset shot that you’d be proud to hang on your den wall.
Here are seven tips to improve your sunset photography. These tips assume that you’re using a DSLR camera. You might be able to get a good sunset with your phone, but that will always rely on a little more luck.
Find your spot and get there early. It’s easy to find out when sunset is going to happen by looking at charts available on the internet. The harder part is picking your location. Is it a valley in front of a mountain? Is it a derelict barn on the prairie? Is it an historic manor on the moors of Scotland? Whatever you choose, scout the spot and make sure you have the access you need to frame your subject in front of the setting sun. When I find a location I want to shoot, I make sure which direction is west, spot an exact shooting location, and then come back an hour before sunset to make sure I’m ready when it happens.
They say that photography is painting with light. The light is everything, and in a nutshell, that’s why you’re shooting at sunset instead of noon. But shooting into the sun requires some special considerations. If the sky is the main subject, you’re going to have exposure problems because the sky will be so much brighter than the foreground. Let’s also be clear, you have to put your camera into manual exposure mode and decide how you’re going to expose to get the effect you want. If you’re on automatic, you’ve got no chance.
You can deal with an overexposed sky in three ways: find a nice silhouette shape in your foreground and expose for the sky; use a graduated neutral density filter set up in front of your lens to selectively darken the sky as you shoot; or use a polarizing filter, which will both eliminate lens flare and darken the sky.
Now that you’re prepared for the light, pay attention to your composition. Be sure you pick something as the main focus of your shot and use compositional techniques such as leading lines and the rule of thirds to lead the viewer’s eye to that spot. Because you’ve arrived at your spot in advance, you have plenty of time to move around and make sure you’ve got the best composition possible before the sunset colors hit their peak.
There are lots of reasons to use a tripod, but the real reason is that it forces you to slow down and really set up your shot. It also allows you to easily change your exposure settings as the light changes without having to reframe every time you change your setting.
Be sure that everything from foreground to background is in focus. That will mean you’re probably using a small aperture, perhaps f/16. And that will mean your shutter speed will be slower. You should also try a shot or two with a very slow shutter speed, maybe 15 seconds or so. You might get some nice wispy soft cloud effects, another reason you want a tripod.
Finally, shoot in RAW mode and process your photos in a program such as Lightroom. You have to do this to get the best results, because no matter how expensive your camera is, it cannot accurately reproduce what your eye has seen. That’s going to take some work in the computer darkroom. All photographers do it. Don’t kid yourself. It’s not cheating, it’s just helping the camera display what you actually saw.
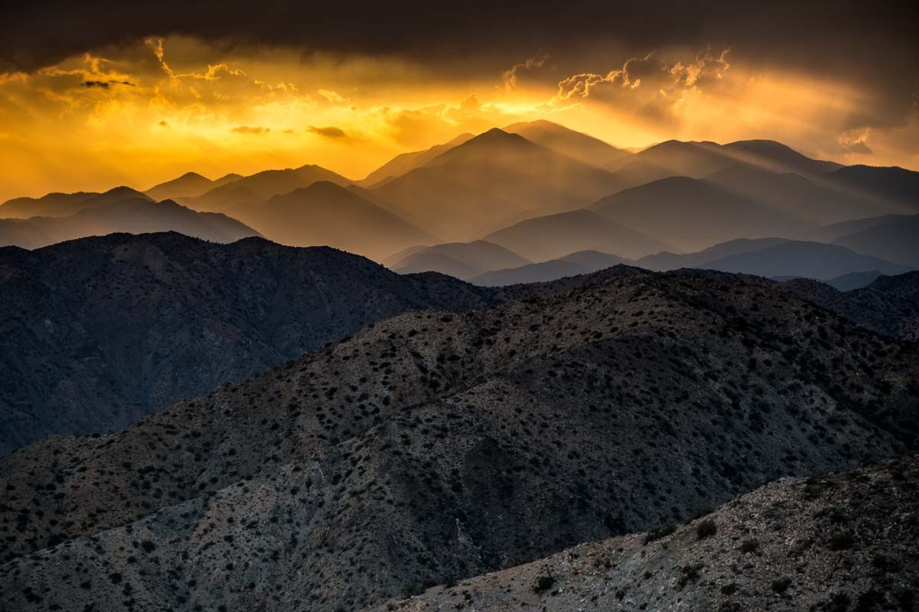
Get there early. I got to Keys View in Joshua Tree National Park an hour before sunset, so I was ready to get this award-winning shot.
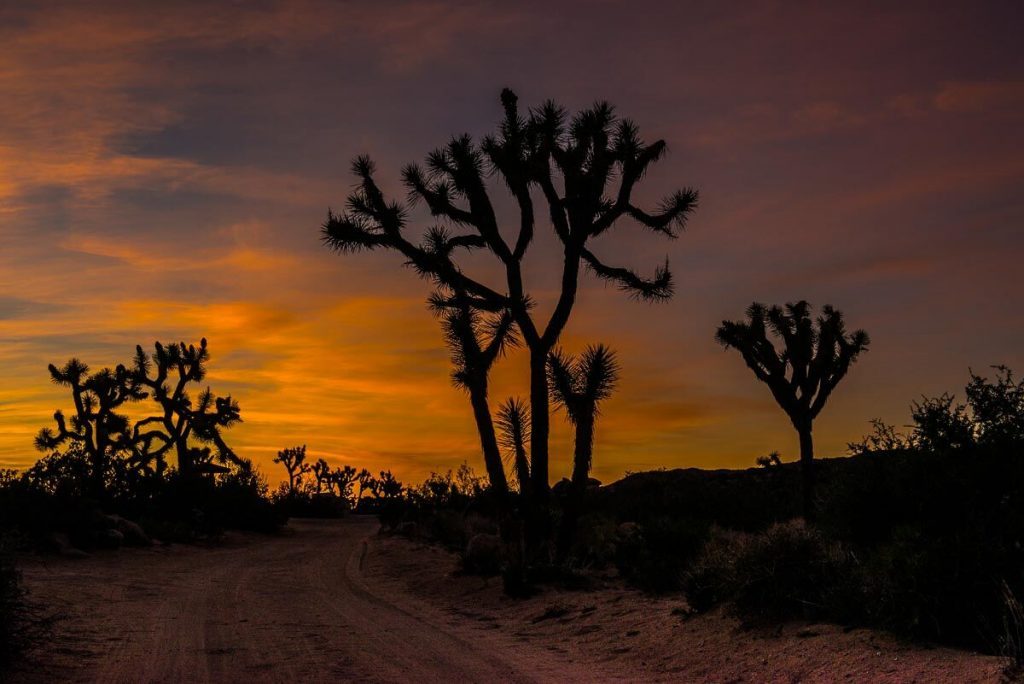
Sometimes, a silhouette is a good option. This photo was also taken at Joshua Tree National Park. Notice how the road leads your eye to the sky.
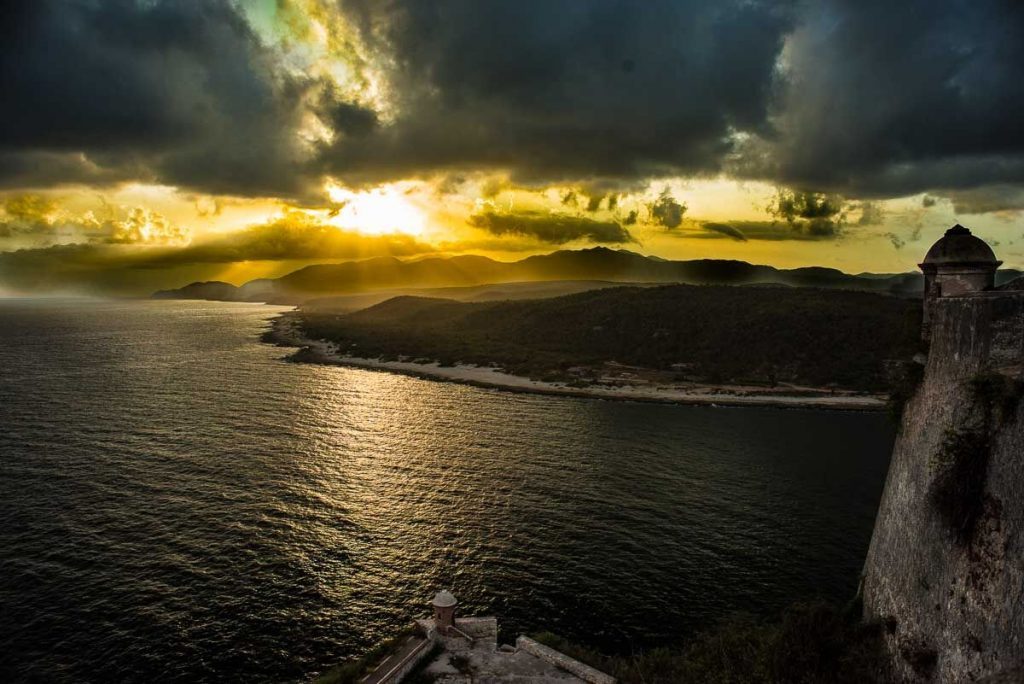
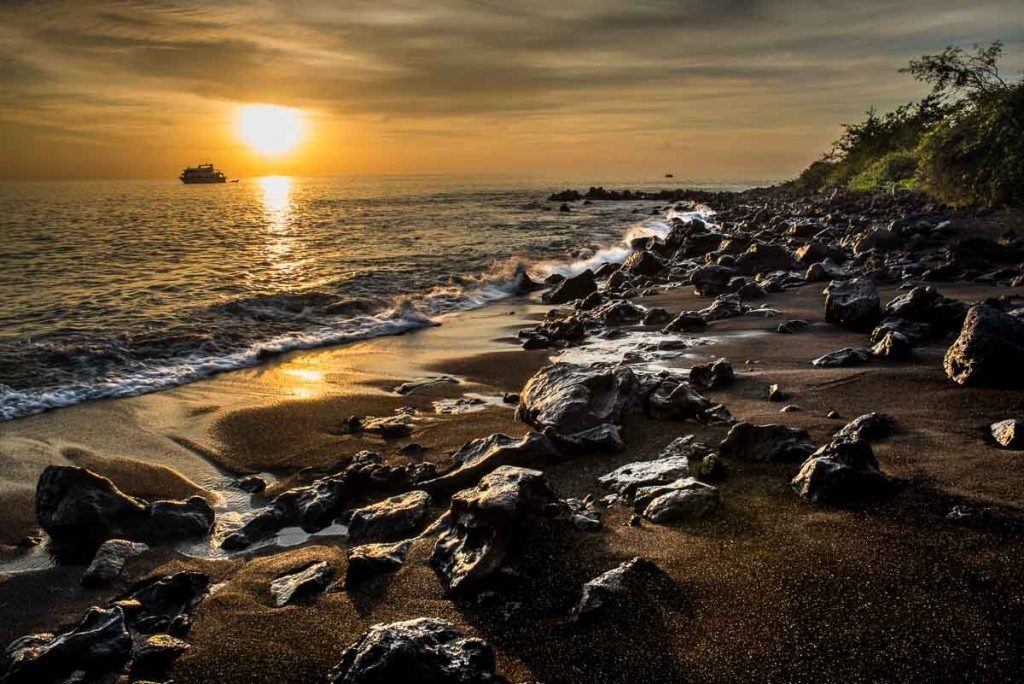
A polarizing filter will capture the directional light rays, and also stop lens flare. Getting the sun, the clouds, and the light on the water all right is impossible without it.
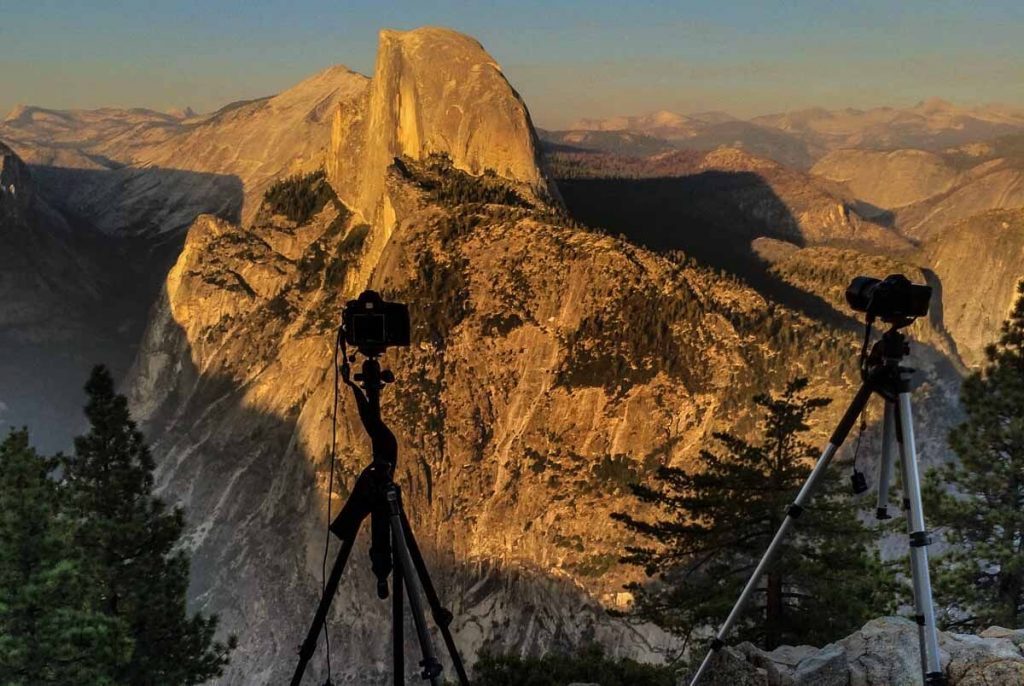
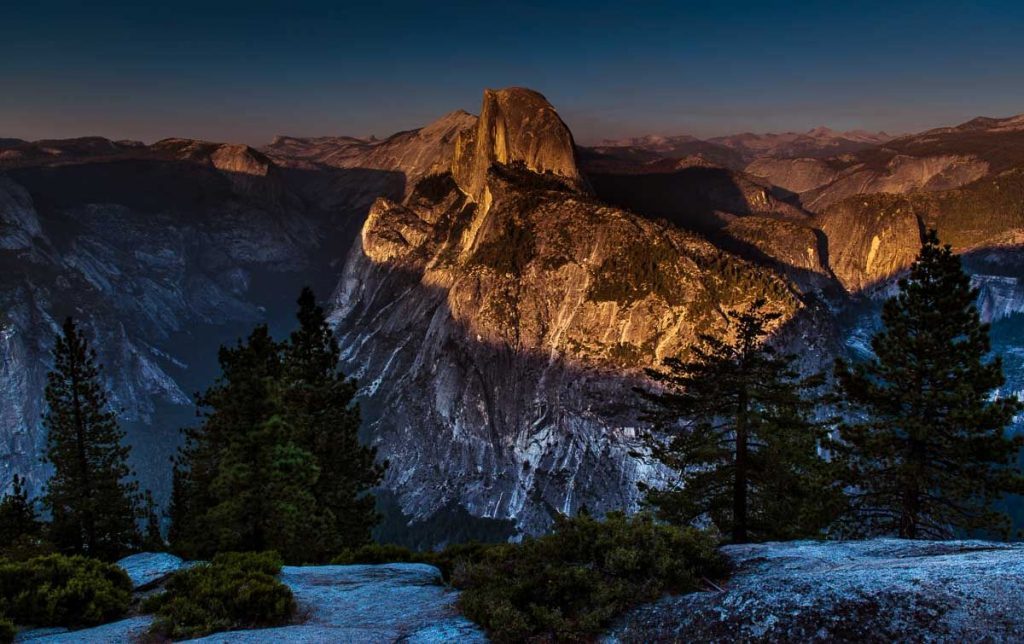
A tripod will let you think about your exposure as the light changes, and you won’t have to worry about recomposing. I got to the vantage point for Half Dome at Yosemite an hour before I took this shot.
And, when the light changes, you get this. Note that the foreground, right in front of the camera is in focus, as is the distant Half Dome.
All of these shots required processing in Lightroom. Keeping the sky, the water, and the glint on the wet rocks exposed properly requires a bit of work.